Getting yourself a new mailbox is not an overly complicated process. Of course, you can always count on your Southampton handyman to do the work for you. But, if you’re interested in DIYing this particular task and install a new mailbox on your own, we’ll help you along by providing the following 6-step process. As you’ll see, this DIY is possible even for people who are usually not too crafty. Still, a new mailbox will undoubtedly boost your curb appeal and the general feel of your home’s appearance. Not to mention the practicality aspect of a functional mailbox when it comes to receiving your mail.
Obviously, if you want to install a new mailbox, you’ll need to buy one first. Your choice will depend on several different things. First things first – you’ll need to like the look of the box. But, aside from the aesthetic point, you need to consider the size of your box. This is especially true if you’re not replacing the post. The usual post size is 4×4 inches, and most boxes can be easily attached to it. Still, make sure that the sizes of the box you want and the post are 100% compatible. The usual box sizes include standard (T1), large (T2) and extra large (T3).
You can’t just install a new mailbox wherever you want. It’s important to follow the USPS rules and get in touch with your local postmaster if there’s anything you’re not quite sure about. In general, there should be a 41-45 inches distance between the mailbox bottom and the road, while the post should be 6-8 inches away from the curb.
As you get yourself a new mailbox, you most definitely won’t need the old one. Don’t waste it by throwing it away when you can recycle it. Basically, you’ll need to use a shovel in order to dig around the post, and the concrete base as well. In case you can’t get everything out, pour water into the hole where you dig and around it in order to make the soil softer. This will help you remove the mailbox and post so that you can bring it to the recycling place in your area. Don’t hesitate to use some kind of leverage if necessary.
This may be the most challenging step of them all but that doesn’t mean it’s too difficult. Essentially, you need to put the mailbox post in the hole and pour concrete over it. The important thing here is to make sure that the post is at the appropriate height and that everything is nicely leveled and supported.
Once the concrete is completely dry, it’s time to mount your new mailbox to the post. You’ll be provided with the instructions for this when you purchase a new mailbox. Still, you’ll definitely have to use mounting brackets in order to properly attach the mailbox to the post.
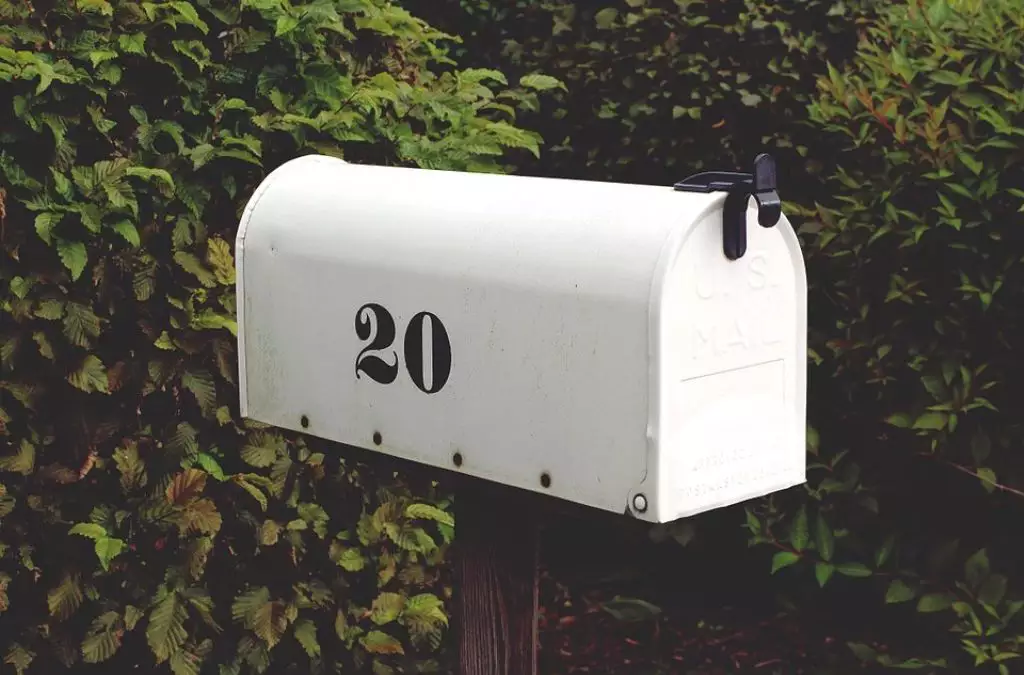
When you install a new mailbox, it’s important to remember to actually add your house number on it. Both numbers and letters on the mailbox should be at least 1 inch tall. Keep in mind that having a mailbox placed on a different street compared to where your house is will require you to add a full address on the mailbox as well. Other than that, you have complete freedom when it comes to personalization of your new mailbox.
Even though the installation of a new mailbox is not the most complicated task in the world, it can still be quite bothersome for someone who doesn’t feel too handy for a project like that. This is where you can trust your local Southampton handyman and ifixit to help you.
Don’t hesitate to give us a call, Contact iFixit for any kind of home repair and/or maintenance task.

Contact Number
(215) 715 - 3415
Email Address
[email protected]
Open on